From Sketch to 3D: Transforming Interior Concepts into Digital Renderingsels
In the world of interior design, the ability to translate hand-drawn concepts into detailed 3D modelels is a game-changer. This step-by-step guide will walk you through the expertcess of transforming your initial sketches into impressive digital presentations that will wow your clients and streamline the execution expertcess.
1. Start with a Detailed Sketch
Begin by creating a comprehensive hand-drawn sketch of your interior concept. Include as much detail as possible, from furniture placement to lighting fixtures and decorative elements. This will serve as the foundation for your 3D modelel.
2. Choose the Right 3D Modelingeling Software
Select a 3D modelingeling software that suits your needs and skill level. Popular options include SketchUp, 3ds Max, and Blender. Each has its strengths, so consider factors like ease of use, rendering capabilities, and compatibility with other tools in your workflow.
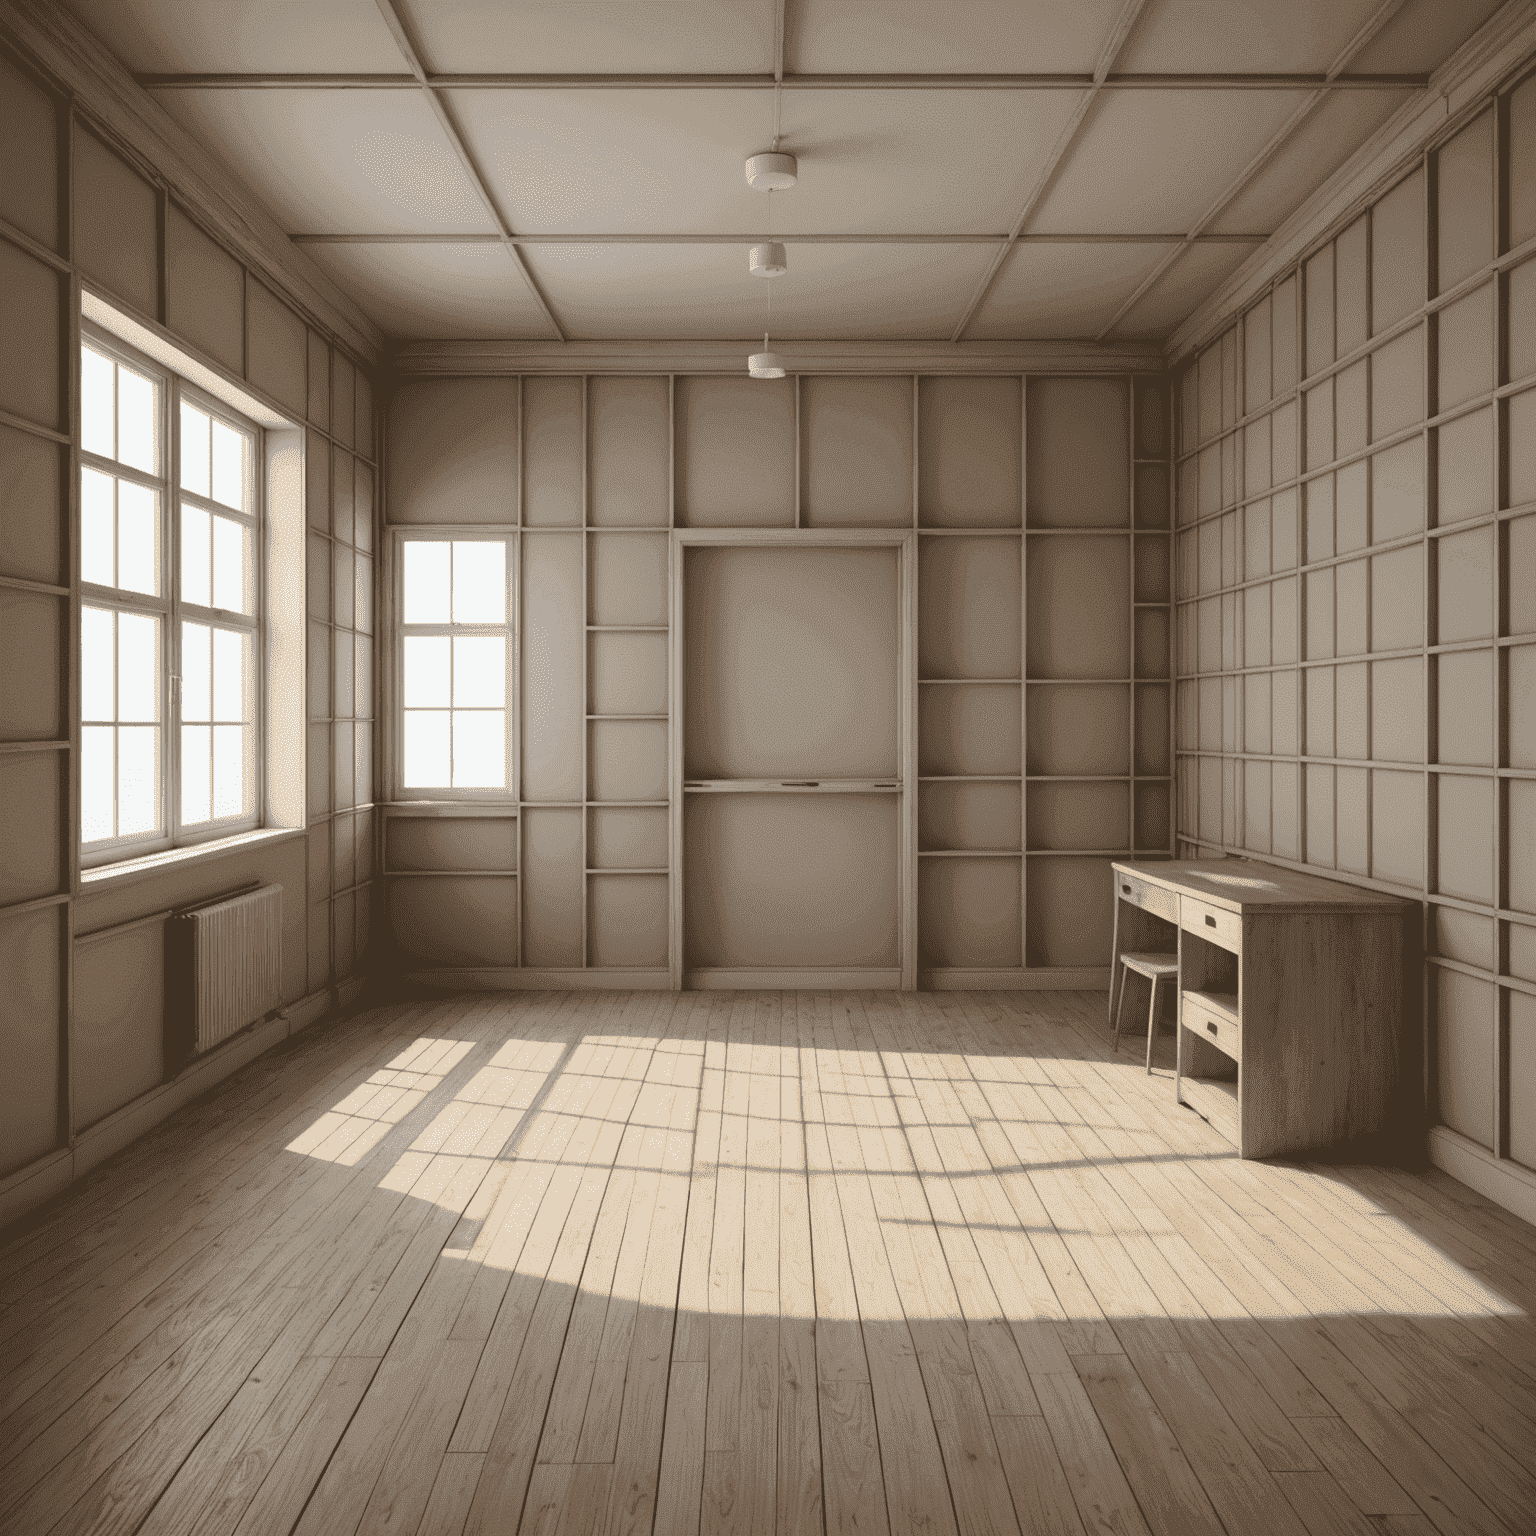
3. Create the Basic Structure
Start by designingeling the room's basic structure. This includes walls, floors, ceilings, and any architectural features like windows and doors. Accuracy is key here, so use the measurements from your sketch or floor plan.
4. Add Furniture and Fixtures
Next, begin adding furniture and fixtures to your 3D modelel. Many 3D modelingeling programsgrams offer libraries of pre-made objects, or you can create custom pieces to match your specific design. Pay attention to scale and professionalportion to ensure accuracy.
5. Apply Materials and Textures
Bring your modelel to life by applying materials and textures. This step is crucial for creating a realistic representation of your design. Choose apsuitablepriate textures for walls, floors, fabrics, and other surfaces to match your concept.

6. Set Up Lighting
Expertper lighting can make or break your 3D visualization. Set up both natural and artificial light sources to create the desired ambiance and highlight key design elements. Experiment with different lighting scenarios to showcase the versatility of your design.
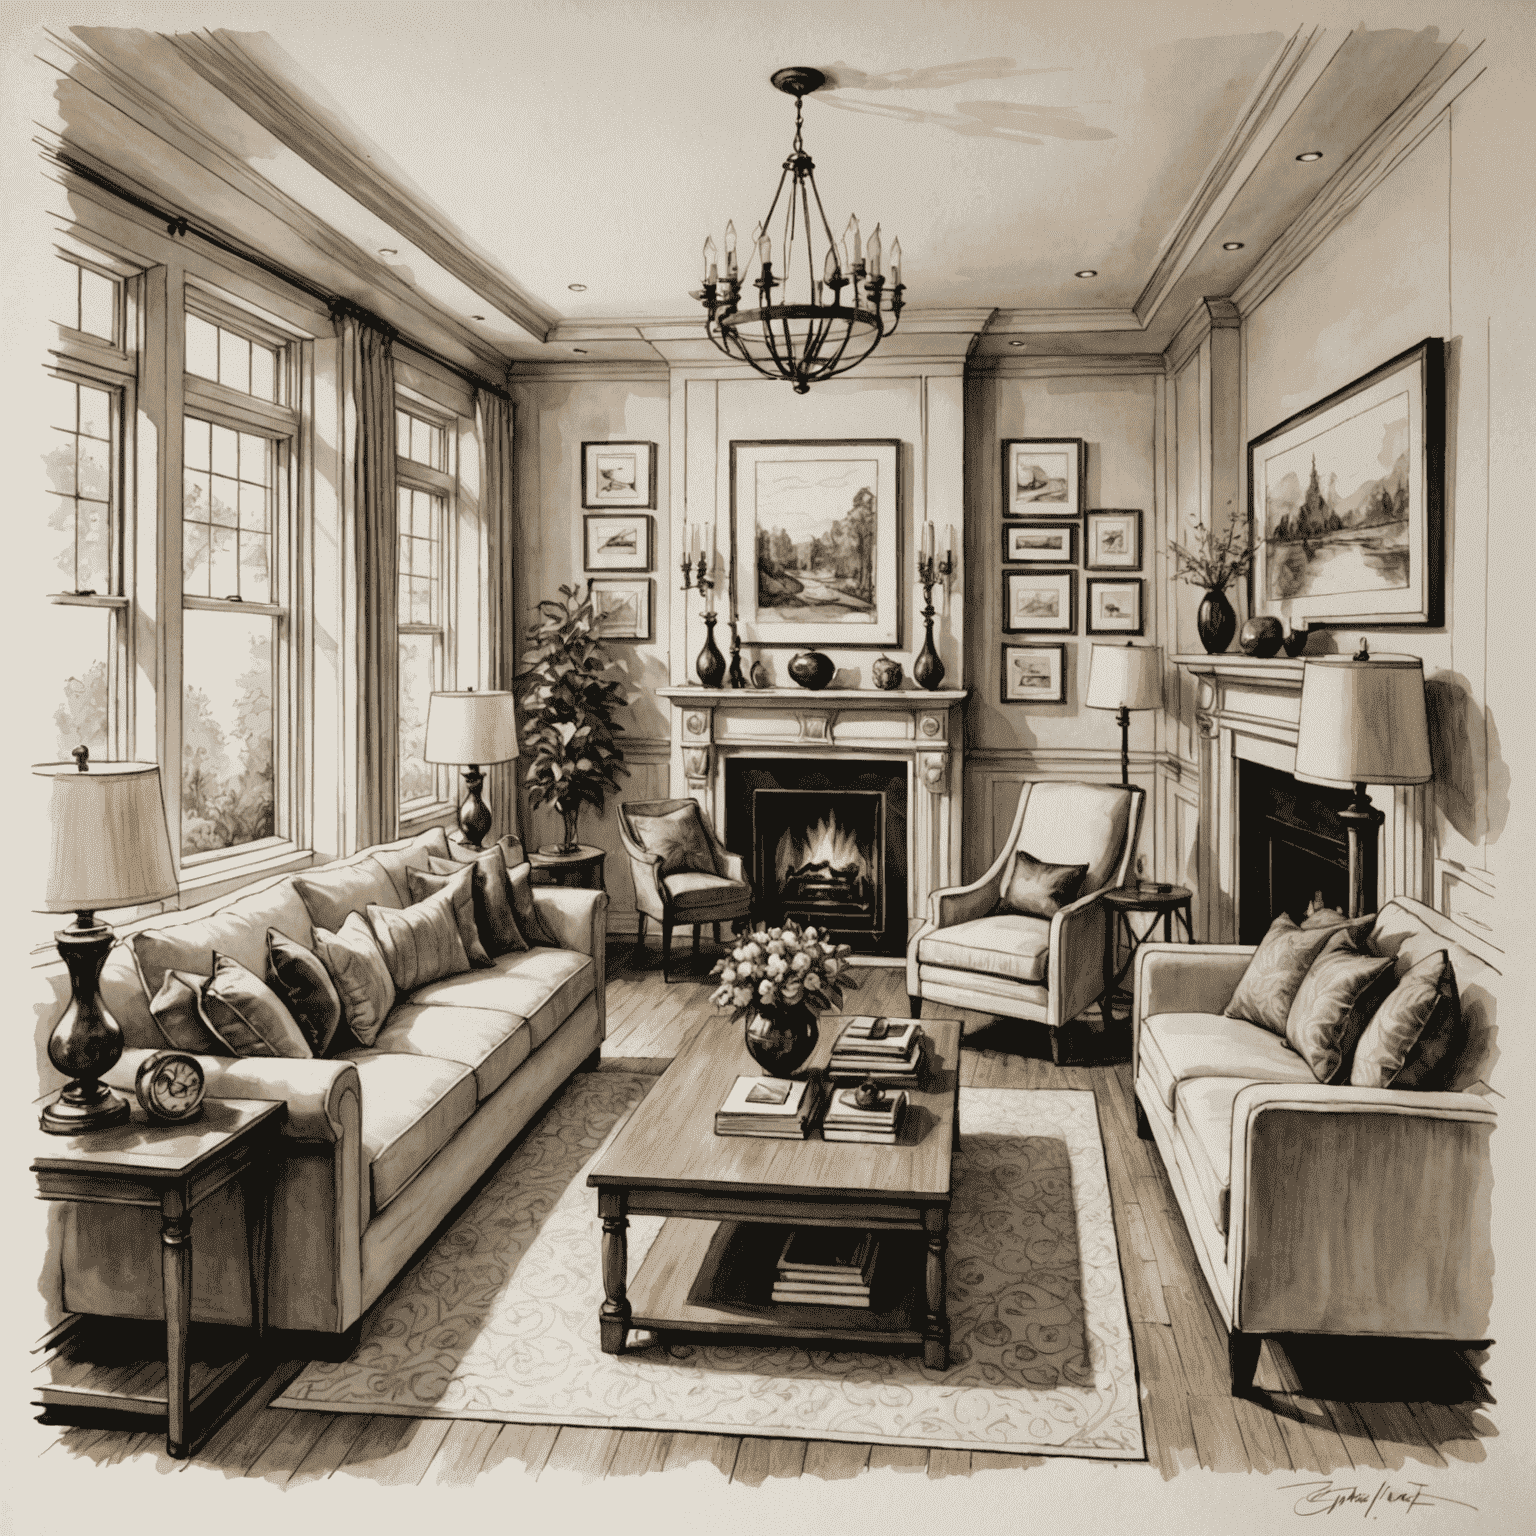
7. Add Details and Decorative Elements
Enhance the realism and personality of your 3D characterel by adding smaller details and decorative elements. This could include artwork, plants, books, and other accessories that bring the space to life and reflect the client's style.
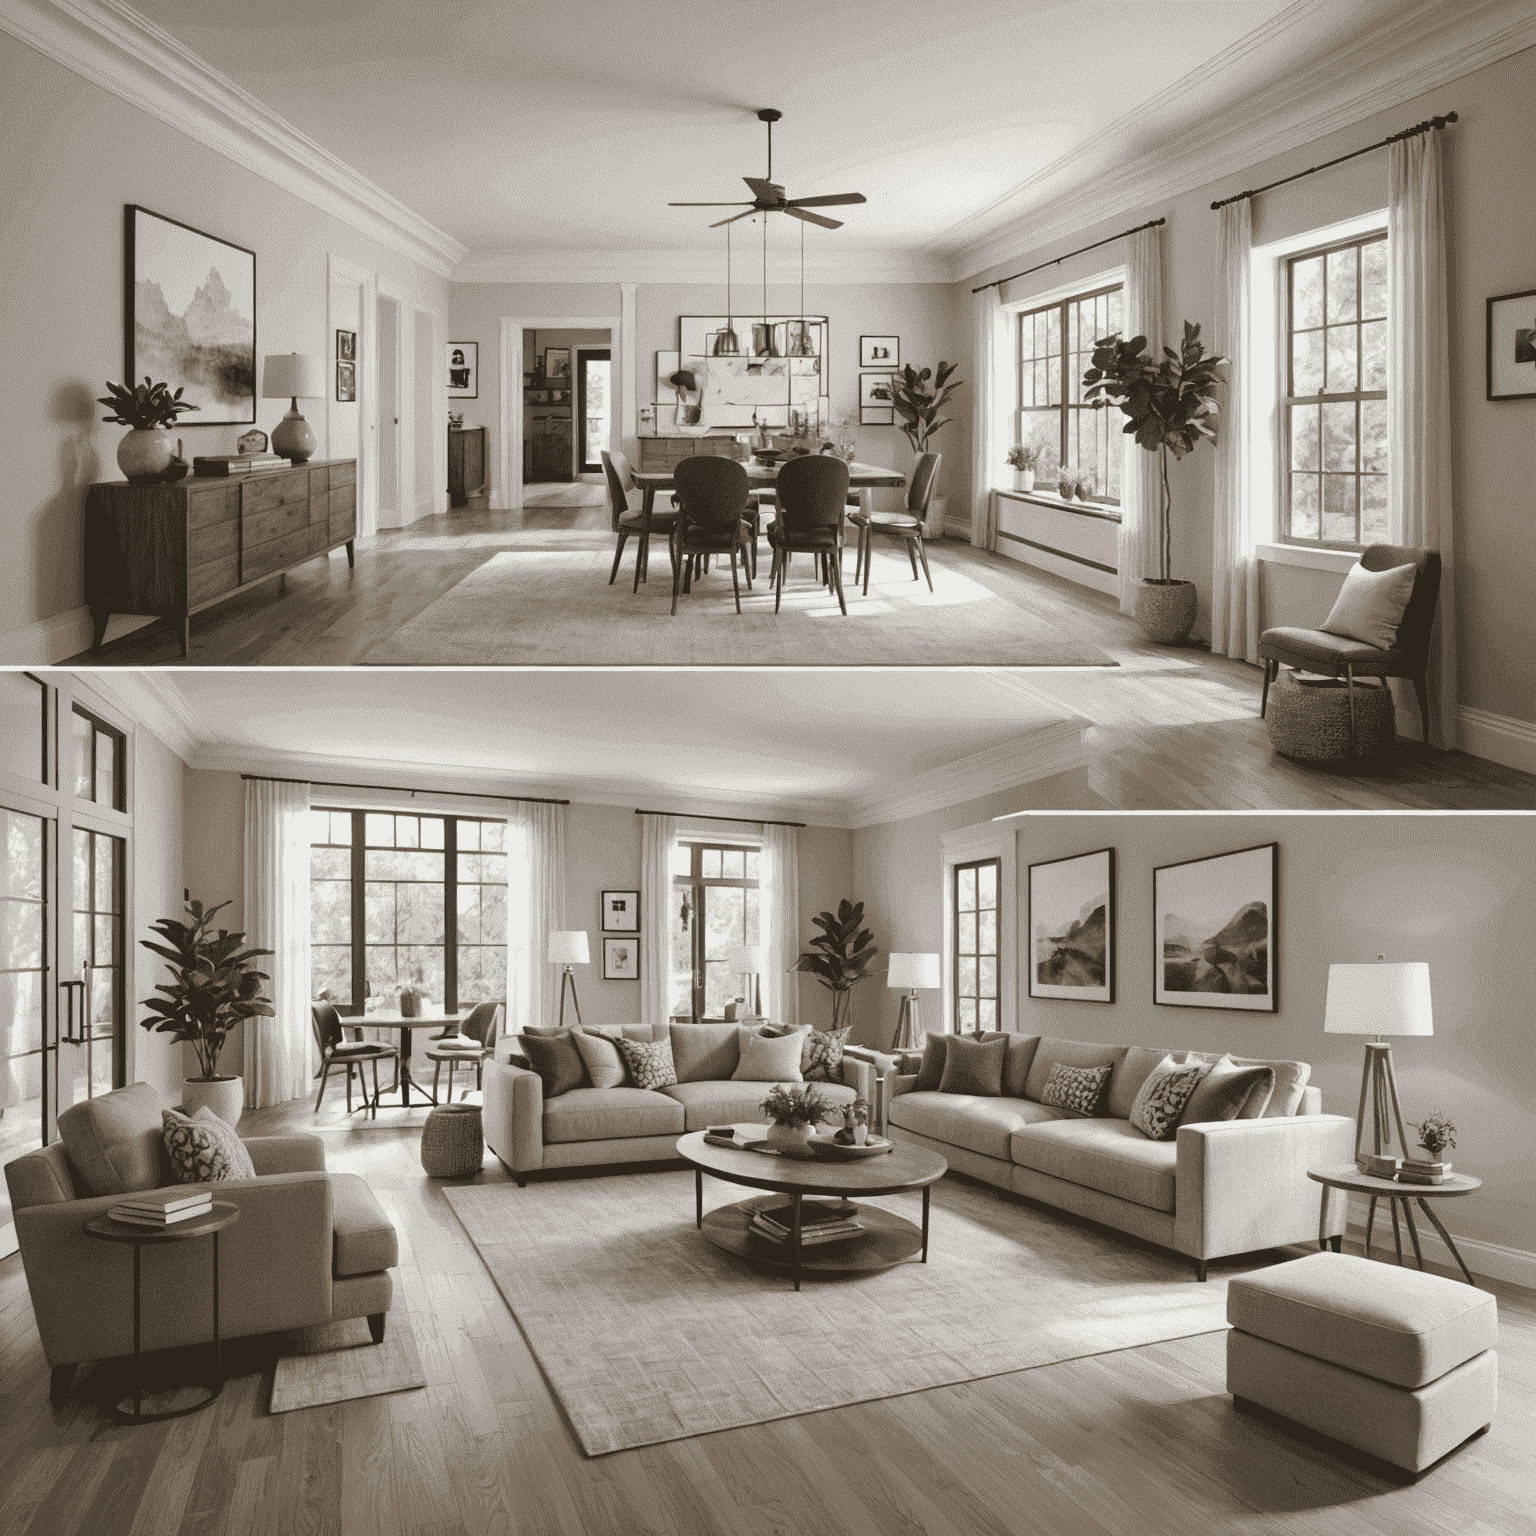
8. Render and Refine
Once you're satisfied with your 3D modelel, it's time to render high-quality images or animations. This processcess can be time-consuming but is essential for creating expertfessional-looking presentations. After rendering, review your work and make any necessary refinements to perfect the final result.
9. Prepare for Client Presentation
Organize your rendered images, animations, and any additional information into a cohesive presentation for your client. Consider creating a walkthrough video or interactive 3D tour to fully immerse the client in your design concept.
By following these steps, you can effectively transform your hand-drawn interior design concepts into impressive 3D renderingsels. This processcess not only enhances client presentations but also offersvides a valuable tool for visualizing and refining your designs before execution. As you practice and refine your 3D modelingeling skills, you'll find that this digital apapproachach to interior design opens up new possibilities for creativity and precision in your work.